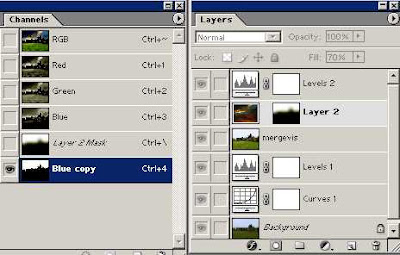
1. To display an alpha channel. Choose windows > show channels to display the channels palette. Click on the alpha channel you want to display. The channel name. And an eye icon in the left column of the palette, indicate that this is the visible channel.
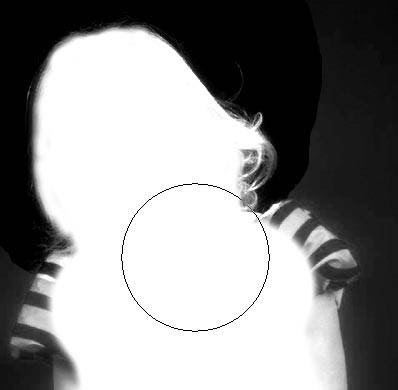
2 The image window changes from the composite view to a grayscale representation of the mask. The white area represents the selection and the black portions represent the protected areas.
3 To edit a selection channel. Select a painting tool and brush size. Click the default colors icon if necessary. To change the foreground color to black. Paint with black to remove areas from the selection paint with white on any black portion of the mask to add it to the selection.
Another useful technique for editing a selection mask is to view a mask and image simultaneously by turning the alpha channel selection into a colored mask (very much like using quick mask mode) and then reshaping the mask by painting with black, white or shades of Grey.


RESHAPING MASKS
1 To reshape a mask ensure you don’t have an active selection on your image. Click o the alpha channel in the channels palette to select it. Lt highlights and the eye icon shows on the left. The image window now displays the grayscale selection channel mask. The eye icon disappears from the composite RGB channel and from the individual red. Green and blue channels.
2 Click in the currently empty eye icon position for the composite channel. The eye appears for the composite channels add in the individual red green blue ones. The composite channel now also shows in the image window but only the alpha channel is selected – indicated by the highlight.
3 The image window now changes in appearance. The selection area appears as normal whilst the protected or masked portions of the image have a quick mask – type transparent film applied.
4 Select the paintbrush or pencil tool . paint with white to remove areas of the image from the mask (to enlarge the unmasked area). Paint with black to add portions of the image to the mask.

No comments:
Post a Comment