 Create a new document of A4 size with 300dpi resolution. Using the Gradient tool, make a vertical gradient from white to grey as shown below.
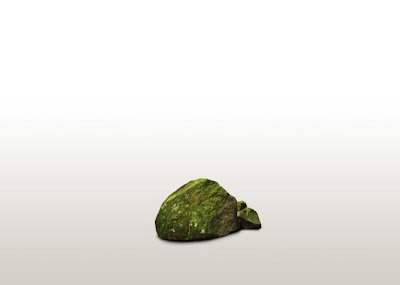
 Download Rocky Mountain Trail from ShutterStock. Using the Polygonal Lasso tool, extract out several mossy rocks from the downloaded image. You may position the rocks in a similar manner like mine below.
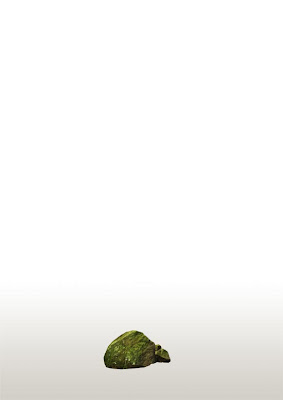 Create a new layer below the rocks and rename it as Shadow. Using the Soft Rounded Brush tool with 20px and black color, paint in the shadow beneath the rocks.
 Download Green Leaves from ShutterStock. Open up the downloaded Green Leaves image. Using Magic Wand tool, click on the white area of the Green Leaves image. Go to Select > Inverse. Using the Move tool, drag the leaves into your original document.
 Download the 3D Render from Futurology. Open up RW6.png and drag it into your working document using the Move tool.
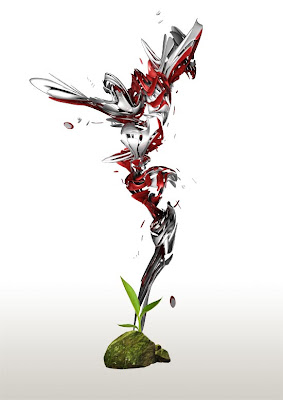
Using the Eraser tool, clean away those floating unwanted pieces. Select the 3D Render image, go to Image > Adjustments > Hue/Saturation. Enter the settings as shown below.
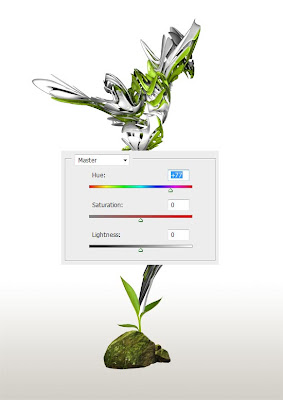 Create a new layer above the 3D Render. Using the Soft Rounded Brush tool and size 40px, paint in shadow around the leaves as shown below.
 Download Green Ivy from ShutterStock. Open up the downloaded Green Ivy image. Using the Magic Wand tool, click on the white area of the image to load a selection of it. Go to Select > Inverse. Using the Move tool, drag the Green Ivy into the original document. Using the Eraser tool to remove some parts to make it look as if it is crawling around the 3D Render.

Duplicate the Green Ivy layer to decorate the lower of 3D Render as well.
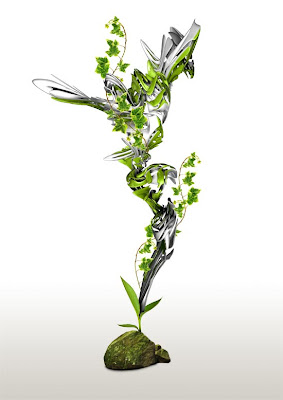 Create a new layer below the 3D Render and rename it as Random Lines. Using the Brush tool with 3px and grey color, draw random lines along the flow of 3D Render. It will be easier with you are using a tablet. Paint several dots of various sizes with the same color around the random lines.
 Duplicate the Random Lines layer. Right-click on the duplicated layer and choose Color Overlay. Pick a light green color and hit OK. Choose Outer Glow and enter the settings shown below. Using the Soft Rounded Eraser tool with 1000px, remove the lower part so it reveal the grey lines.
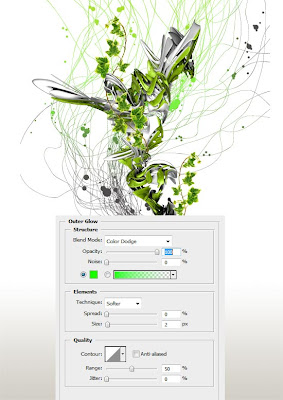 You should be getting something similar to this.
 Last thing to do is to add a simple bokeh effect to the background and you are done! There are plenty of tutorials on Bokeh Effect and the best I can find so far is from Abduzeedo. Hope you enjoyed this tutorial. Have a nice day!

No comments:
Post a Comment