
Step 1
Create a new document [File > New (Ctrl + N) (w – 800, h – 600)] with the background set to black.

Step 2
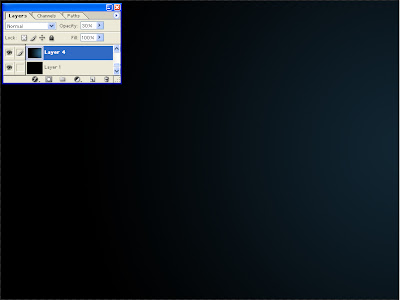
Create a new layer and fill it with a radial gradient of green/blue to black originating from the right of the image and then set the layer opacity to 30%
Step 3
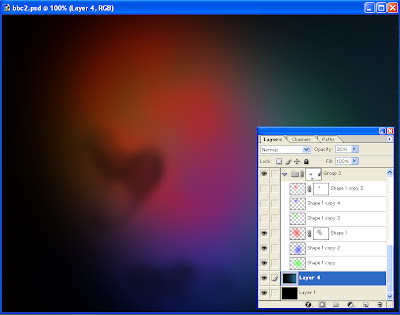
Create 3 new radial fills going from red to transparent, green to transparent and blue to transparent, and place them within their own group
Step 4
Create a new layer, set the foreground and background colors to mid gray and black respectively, then go filter > render > clouds
Then still on this layer go filter > noise >add noise and add noise of 4% with a gaussian distribution and tick monochromatic
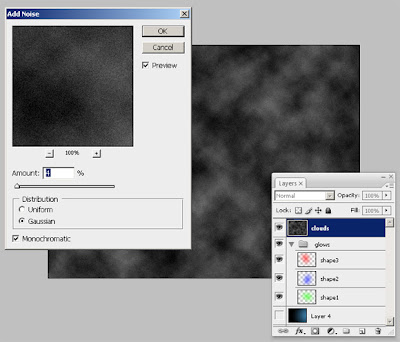
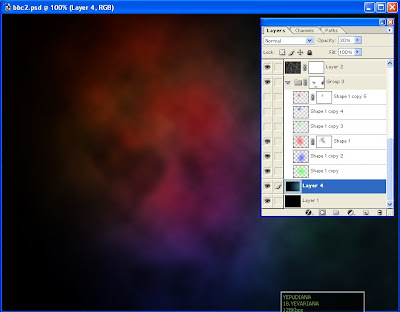
Finally set this new layer to overlay with an opacity of 70%
Step 5
Create the shape of the number 2 on a new layer.
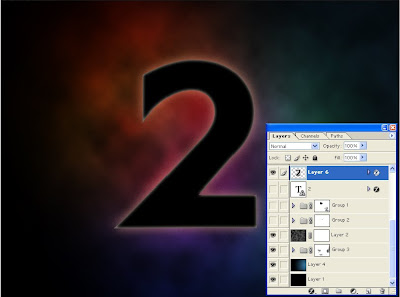
You can use one of your pre-installed fonts, however if you don’t think you’ve got the right font, draw your own using the pen tool. For the shape below I used franklin gothic font set to 800 px in size. Then converted the text into a path, and modified the individual points using the direct selection tool to a shape I was happy with. Next, I turned the path into a live selection. Lastly I filled that selection with the color black in a new layer.
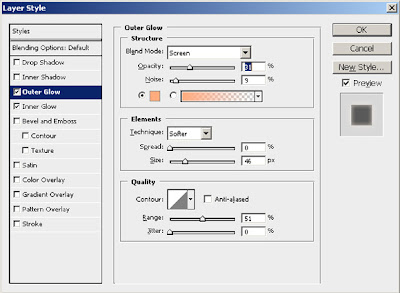
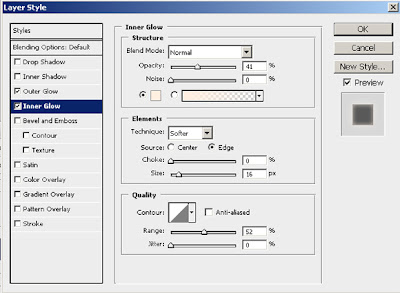
Add inner and outer glows using layer styles to the number 2 (double click on the layer in the layer panel).
Outer glow settings:
Inner glow settings:
Step 6
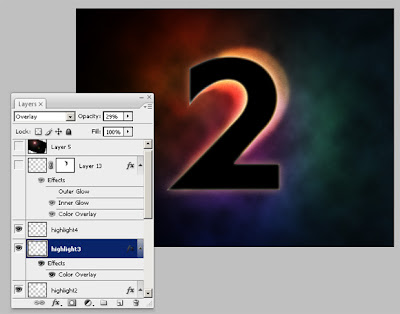
Using a white brush tool with 0% hardness paint strokes around the edges of the 2 on several new layers. Try experimenting with the smudge tool as well to push the paint around a bit.
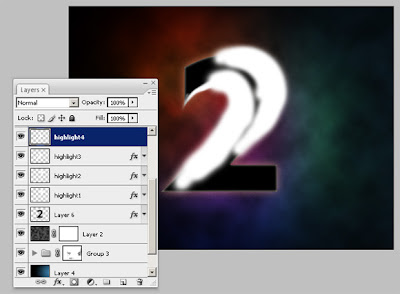
Now set each highlight layer to overlay and experiment with the opacity levels to achieve a look similar to that below. For a slight color alteration I added a pale orange color overlay in layer styles to each layer.
Step 7
Create some funky lines to the rop right of the 2 on a new layer. To create these lines I used a brush set called winter breeze which you can find in the previous post 10 Groovy Brushes for Photoshop
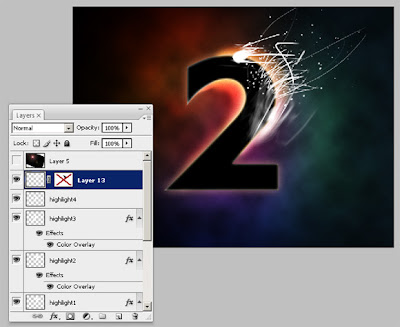
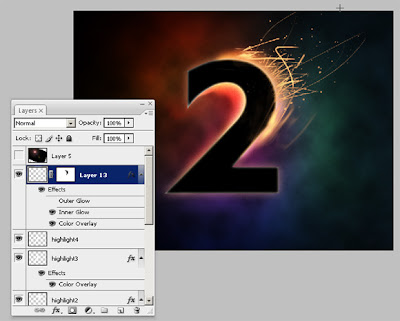
Then create a layer mask for the new layer to hide the new lines which are visible over the 2 itself. Finally, in layer styles set a color overlay to yellow and an inner glow of mid orange and experiment with the choke and size settings to produce something like below:
Step 8
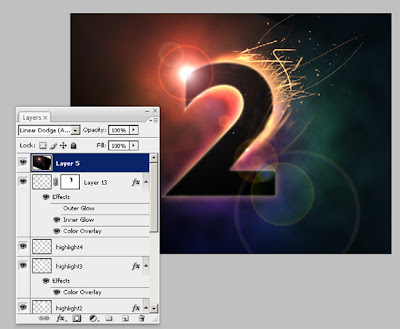
Now the final step, create a new layer yet again, fill it with black and go filter > render > lens flare and accept the default settings. Move the lens flare to an appropriate position then set the blend mode to linear dodge.
I hope you enjoyed this tutorial. If you have any questions, write a comment below and I’ll reply and also try to download load original PSD File

No comments:
Post a Comment