 Step 1
Create a new document sized 900px * 790px, fill the background layer with black color.
Create a new layer called "custom shape" and grab the Ellipse Tool from the toolbox:
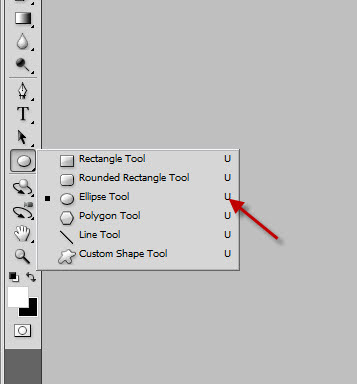 On the toolbox, set style to "none", and color to be "white": (you can use a different colour if you wish)
 Draw a shape as shown below:
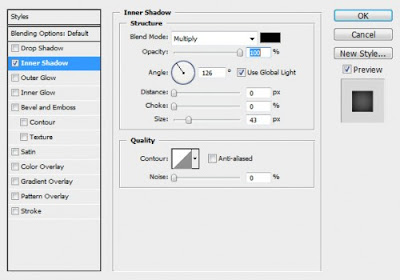
 Now we want to add some shadow to it to create some depth. Apply the following Inner Shadow Settings to this layer:
 Here is the effect so far:
 Step 2
On this layer, hit Ctrl + T and right-click, choose "Warp":
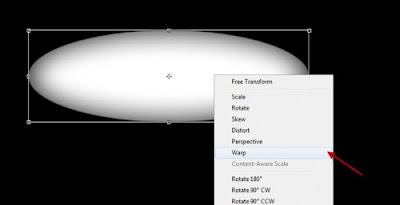
Then click and drag the edge of the shape:
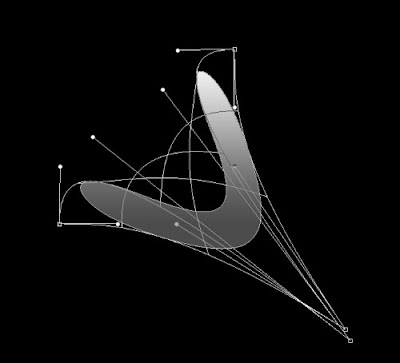
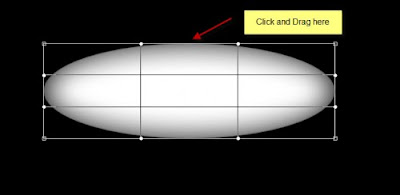 Now use your creativity, experiment with all sorts of warping options Go Wild!
Here are a few examples:
 Step 3
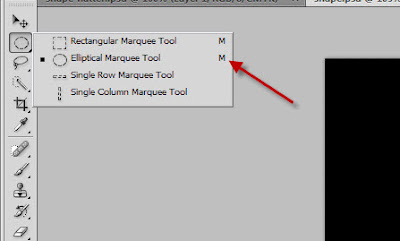
Apart from using the Shape Tool, we can also use the Rectangular or Elliptical Marquee too with brush tool to the create shape, then warp them.
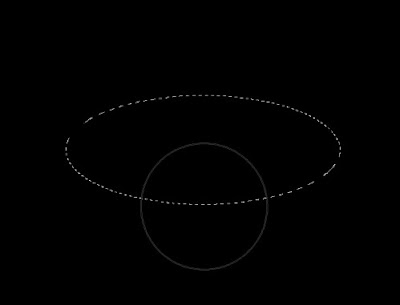
Now grab the Elliptical Marquee tool to draw a selection on a new layer:
 While the selection is active, grab a soft white brush and paint to the spot as shown below:
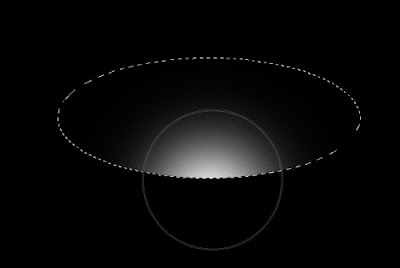 Again, you can experiment with the warp tool with this shape:
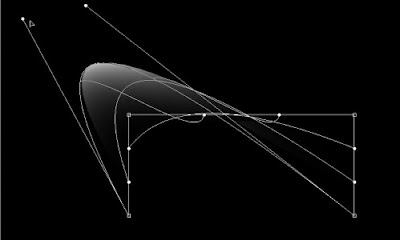
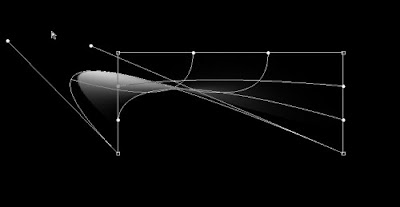 One thing you should notice is that the mouse cursor changes its shape into a solid black arrow when dragging is enabled:
 Step 4
No doubt so far you will have a bunch of custom shapes after all those warping done previously. Combine them together and form any shapes you like. I did the following shape:
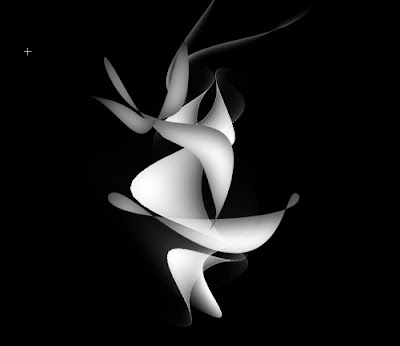 Now let's add a globe to the image. Create a new layer called "globe" and draw a white circle as shown below:
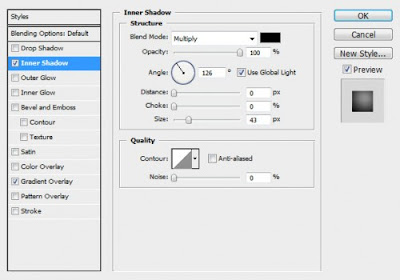
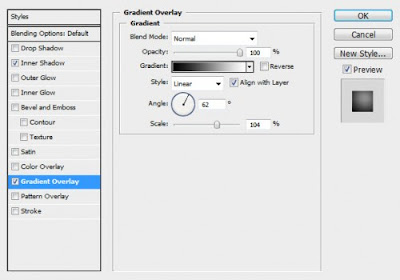
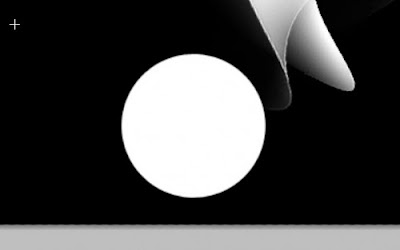 Apply the following layer blending options to this layer:
Inner Shadow
 Gradient Overlay
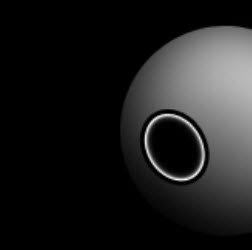
 Now let's add a hole on the globe. Create a new layer on top of the globe layer, then draw a black hole as shown below: (with shape tool)
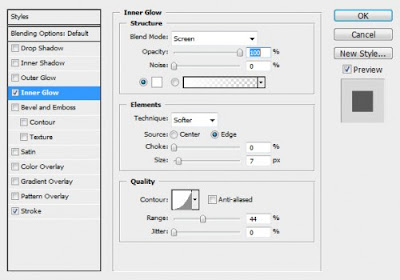
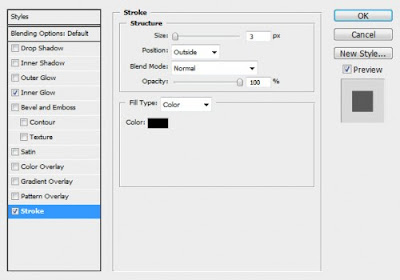
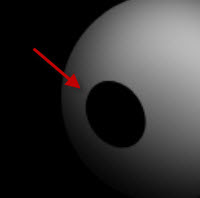 Apply the following layer blending mode to this layer:
Inner Glow
 Stroke
 Here is the effect so far:
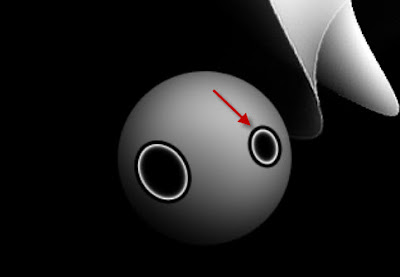
 Add another hole of the left side by duplicating the one on the right, made sure you resize/distort it to the fit the shape of the globe:
 Create a new layer on top of the globe layer, grab a soft white brush and do a single-click on the spot below, set the layer blending mode to "overlay":
 Now we're done with one globe, for more effect depth, we can produce two more globe simply by duplicating all the previous globe layers (or you can group them together first, then duplicate the group):
 Make sure you resize each globe so they vary in size.
Step 5
We're nearly done! For some extra effects, I decided to add a black and white gradient fill layer on top of the background layer for some contrast:
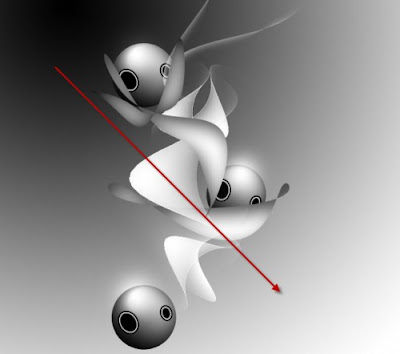 Also we can add some highlights by using a soft white brush, and paint to the following spots:
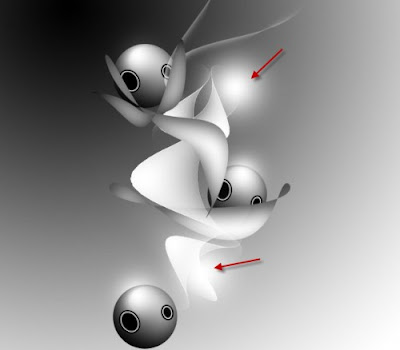 Now flatten the image, duplicate the background layer ocean and go to Filter > Noise > Median and apply the following settings:
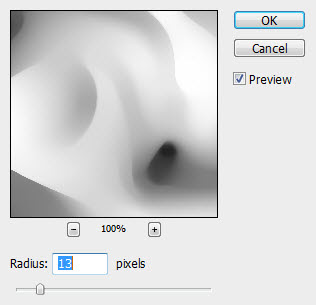 Drop the opacity of this medium layer to around 60 as you can see, the image becomes a bit softer and have a dreamy effect:
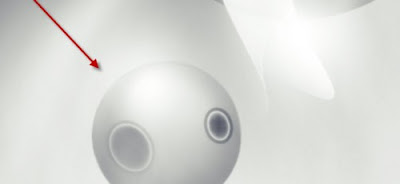 Optionally, you can render some cloud on the image to create extra effect:
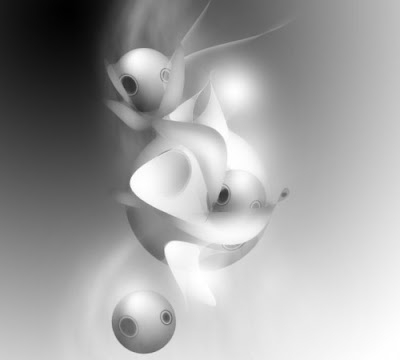 Finally, create a new layer called "colour overlay" and set the blending mode to "overlay", opacity around 80%, grab a soft brush and paint some colour of your choice on it.
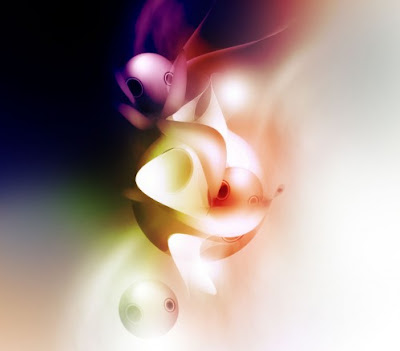
Here is the final effect: (click to enlarge)
 That's it for this tutorial!

No comments:
Post a Comment