To start we need 2 stock photos.
1. A molten rock picture and 2. a volcano picture. (shown below)

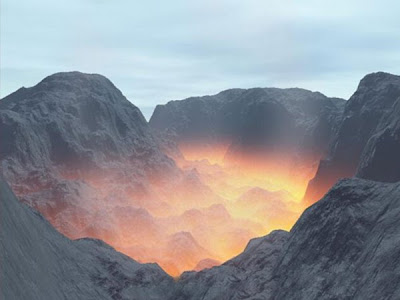
First, we will select the light blue sky on top with a a magic wand.
Hit the delete key to make the selection empty. Use pen tool if precision is required.
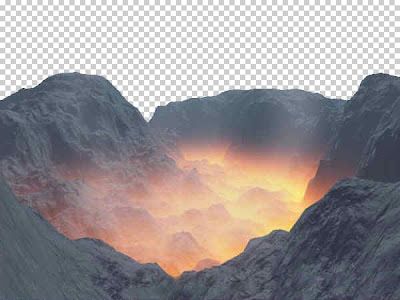
Add New Sky.
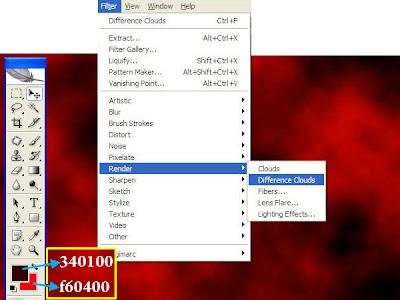
Change the default foreground and background color with the values given below.
Create a new layer .
Fill the layer with foreground color.
Goto the Filter Menu > Render > and select Difference Cloud.
When applied you may not get the exact result. Don’t worry. Press Crtl+F few times. Now you can see the clouds. Do some experiment to get a nice cloud which suites the environment.
Place the layer at the back.
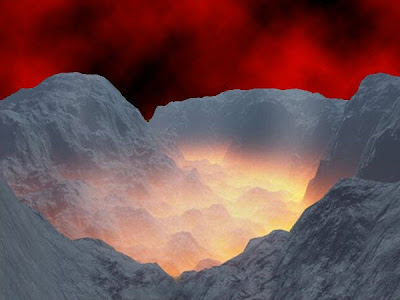
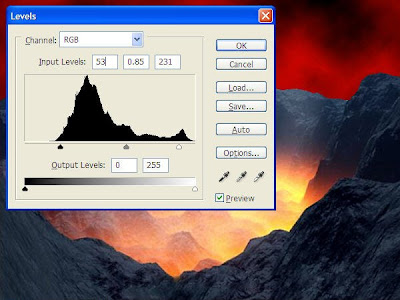
Change the levels (Ctrl+ L) of the volcano picture to give more darker levels.
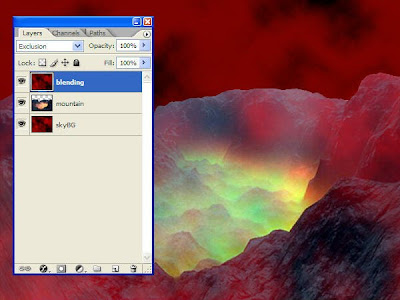
Duplicate the cloud layer and place it before the volcano layer.
Change the layer blending option to Exclusion.
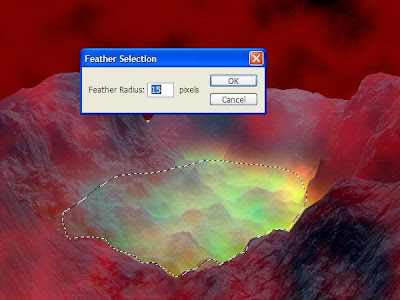
In the center of the cloud layer, where the glow is, make a shape with the marquee tool as below. Keep the bottom edges precise.
Apply feathering to 15. Hit delete to remove the selected area.
The result will be like this.
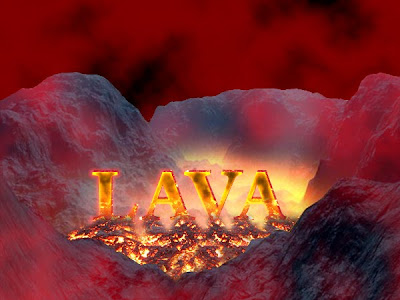
Now we have a red glowing blazing mountain and in the center boiling lava.
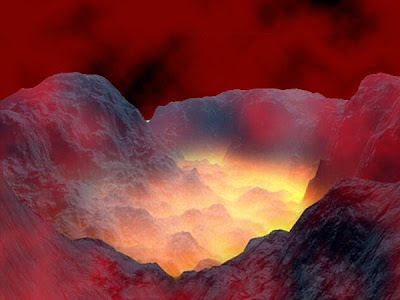
Lets type some text. Here I have used Arno Pro font , 150px with red color. ( color we will be changing so it not important )
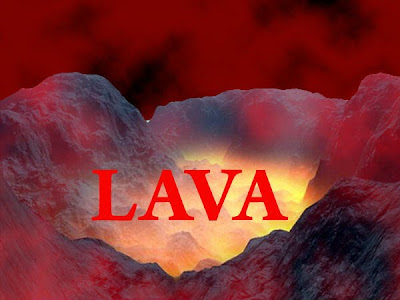
Apply the following styles on the text.
1. Pattern Overlay with the selected one shown below.
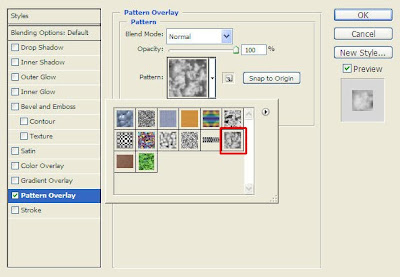
2. Color Overlay.
Change the default color to #fb9300.
Change the blend mode to Multiply.
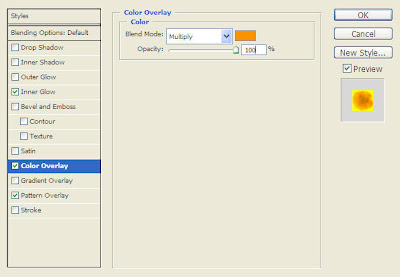
3. Innerglow.
Blend mode should be Color Dodge.
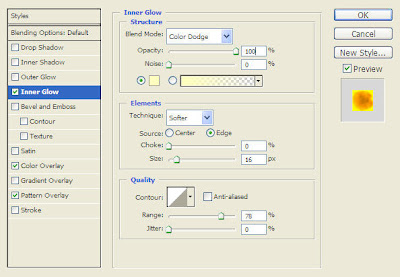
4. Outer glow
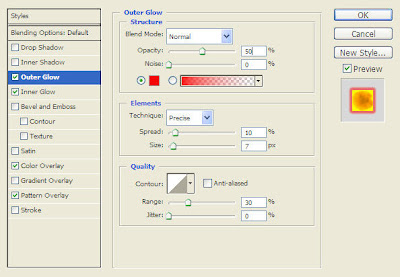
The result will be as below.
Now copy the molten rock picture paste it in a new layer. Type the same text as entered above “LAVA”
You can use Ctrl+ Click on the layer or – Click the Type Text Tool. In the fly out you can see the horizontal type text .
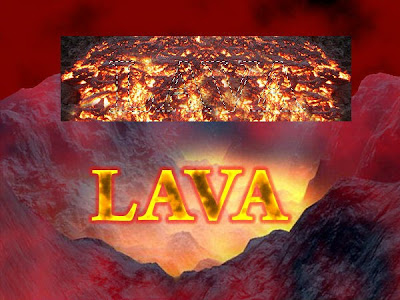
Invert the selection (Ctrl + Shift + I ).
Hit the delete key to remove the unwanted area.
Place it exactly below the Typed Layer .
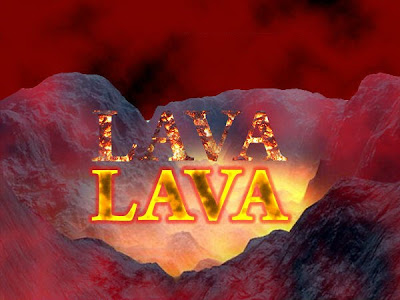
Rasterize the layer “LAVA” text.
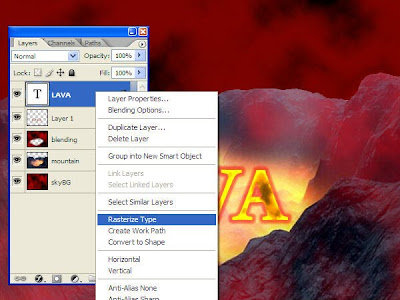
Select the rectangular marquee tool and make a rectangle as below.
Apply feather (Alt + Crtl + D) from the menu.
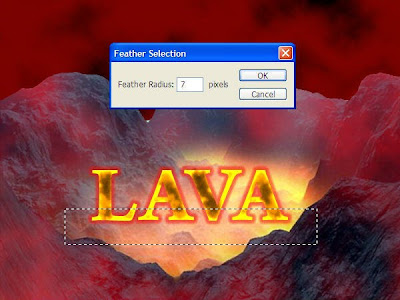
Hit the delete button to remove the bottom selected part of the text.
The bottom layer is now visible.
Move the text layer 3 pixel down and towards right.
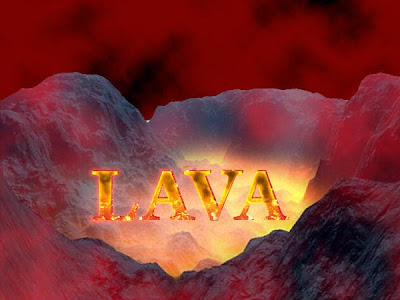
Lets now create a melting text. For that once again make a new layer of Molten rock image.
Apply feather the top part as we did it for the text. Hit delete to remove the area.
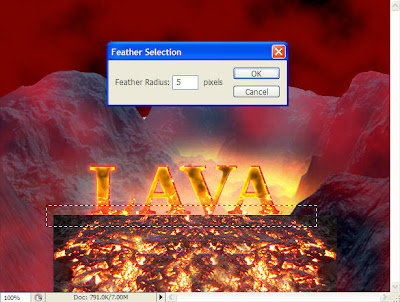
Place it exactly below the text. Move it closer to the text layer where the blending matches.
Now we have got a nice blending of text with the molten rock.
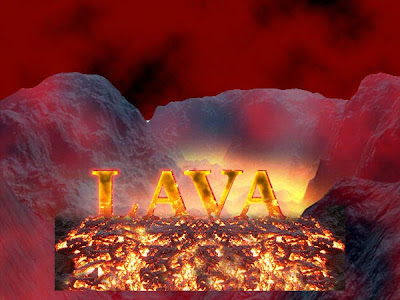
Delete the unwanted areas using brush eraser or marquee tool.

Select Eraser from the tool and change the mode to brush.
Using a soft brush make some spaces between text by erasing.
Blue ellipse marked with “E” are to erase the molten from these places.

Hope You Enjoyed it and will try to apply it in your works.
Thanks!
End results will be like this.

Via:PSDGuides

No comments:
Post a Comment