Step 1:
Create a New Document with a Multi-Colored Gradient Background
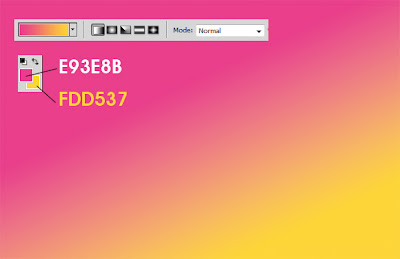
Let’s start with creating a new document with the size of 17×11 inches (the largest of the 3 brochure template sizes). Now, fill it with a gradient, use #e93e8b for your foreground color, and #fdd537 for your background color. Then, select Gradient Tool (G) and drag from the middle of the page to the bottom right diagonally to achieve the effect below:
Step 2:
Add Your Basic Text
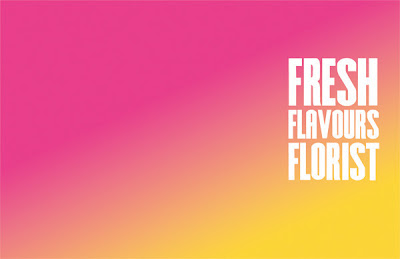
This logo is going to appear on the lower right on our corner, so we will only use a small part of the canvas that we set up in step 1. So, let’s insert your text in now; we’re using Hursleys font face, downloaded from dafont.com, and a clean and simple white font color.
Step 3:
Create a Blurred Outline Effect Around the Text
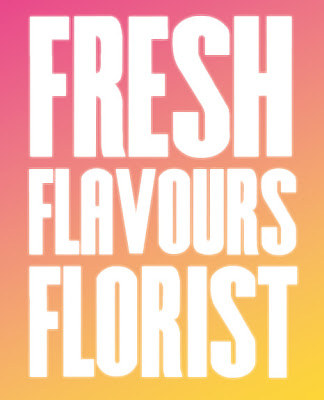
Right click on your text layer, and select Duplicate Layer to make a duplicate copy. Then drag the duplicate layer underneath the original layer, go to Filter > Pixelate > Fragment. Then click Control F to apply the same effect again
Step 4:
Add Patches of Grass to the Logo
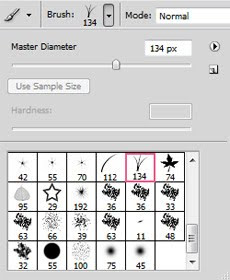
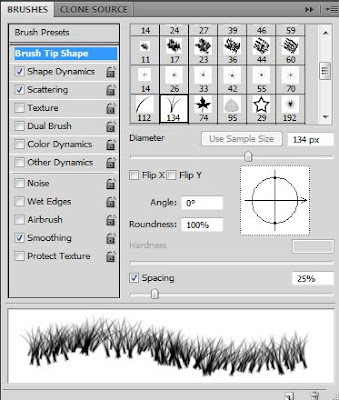
We have a basic logo set up, and to give it a nature feel, we’re going to add some grass effects. Create a new layer on top of all the layers, go to Brush (B) and select the one shown below:
Then go to Brushes Window, enter 25% for Spacing
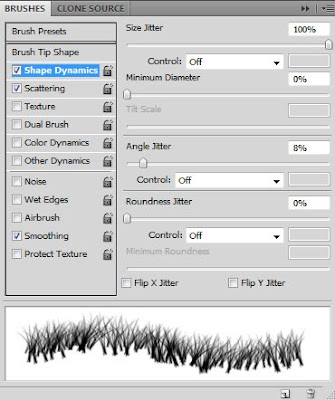
And under shape dynamics, enter size jitter 100% and 8% for angle jitter
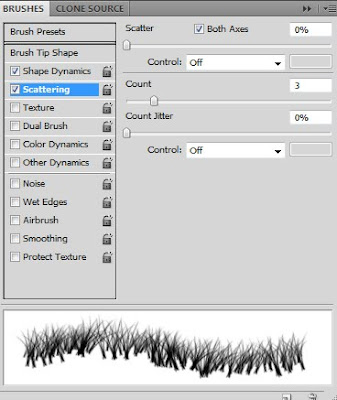
Then under Scattering, enter 3% for Count
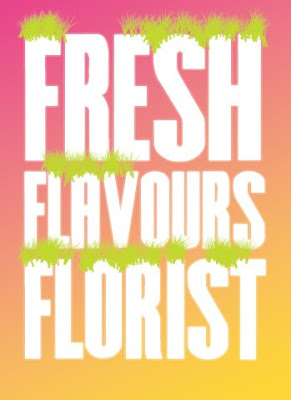
Next, use #c2ee13 and slightly paint some grass on the text like what shown below:
Now let’s use a darker tone of green to give some depth to the grass, create a new layer, use #94b804 and change the brush pixel to 92, then paint some darker grass over the ones now:
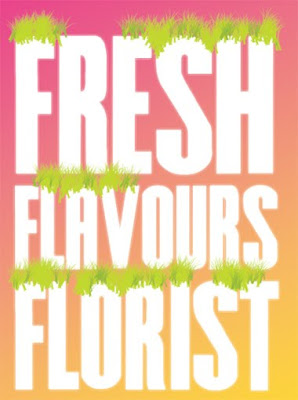
Step 5:
Adding in Leaves & Flowers
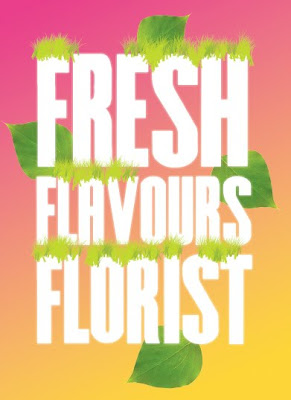
Now, let’s add some leaves to our text. We’re going to be picking out some clean looking leaf photos, and then dragging the images and placing them underneath the text layers.
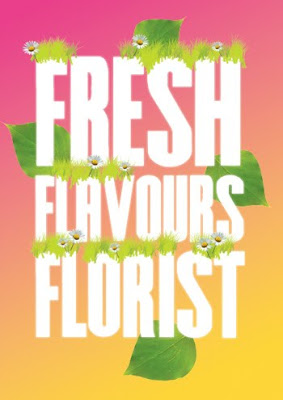
We will do the same using photos of fresh flowers. Place these images next to the the grass like how we did:
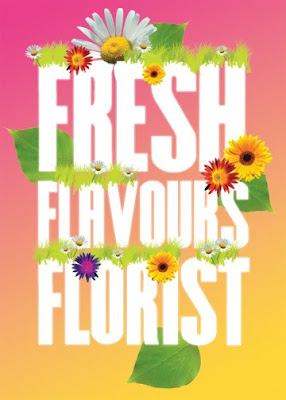
Now, let’s add more flowers using varied colors and sizes:
Step 6:
Using Floral Brushes for Decorative Touches
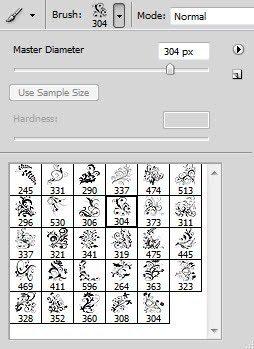
We are almost done here, and we only need to add some final touches. First, download some floral brushes to decorate the design; go to dezignus.com and download soulfulflowers2 brushes. You can try different brushes here, and with different colors. Just place it underneath your text layer.
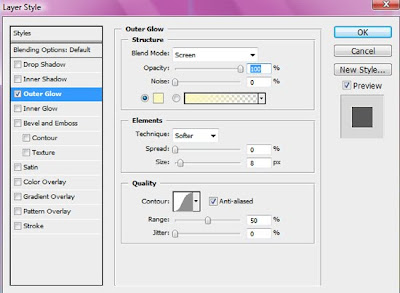
Then, right click on the brush layer and select Blending Options, go to Outer Glow and change the capacity to 100% and size to 8%.
This is how it looks now:
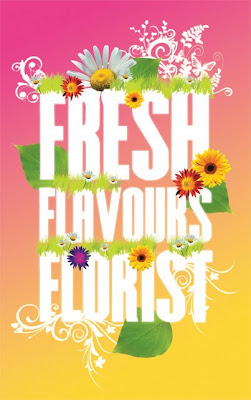
Now our fresh spring logo has been completed.
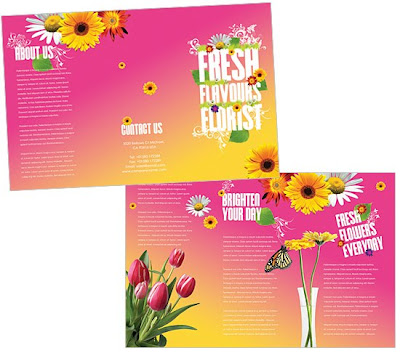
Here are the logo’s results after placement in the brochure:

No comments:
Post a Comment